Several ways to create a hammock in the garden with your own hands
In this article we will touch on a topic that is quite relevant now. The summer season and vacation time have come, and everyone wants to spend the treasured weekend with pleasure. Before you go to the country, learn how to make a hammock with your own hands, where you can relax in your suburban area. You can knit, weave, sew a hammock from old clothes or come up with something else. We will now give you some practical instructions, but first we will look at the basic requirements for these items for recreation.
What you need to know about hammocks
The main thing in a hammock is the strength of its fastening. Hammocks are hung between garden trees, poles or some kind of support. When choosing the first option, it is necessary to attach to tree trunks with a diameter of at least 20 cm. When poles act as supports, they must be deepened into the ground at least a meter. It should be borne in mind that the more the hammock sags, the less will be the load on the supports.
It is customary to hang a hammock at a height of 100-150 cm from the ground. Between the supports should be about three meters, but no more. If you make them yourself, immediately ensure that the distance between them is equal to the length of the hammock + 30 centimeters. If you attach the hammock to existing supports, the length of the hammock can be varied by tightening or releasing more. You can also tie the product a little higher, making a stronger deflection.
To fix the hammock with your own hands, you must use strong and thick ropes with a diameter of about 8 mm. Feel free to secure the fabric with eyelets if necessary.
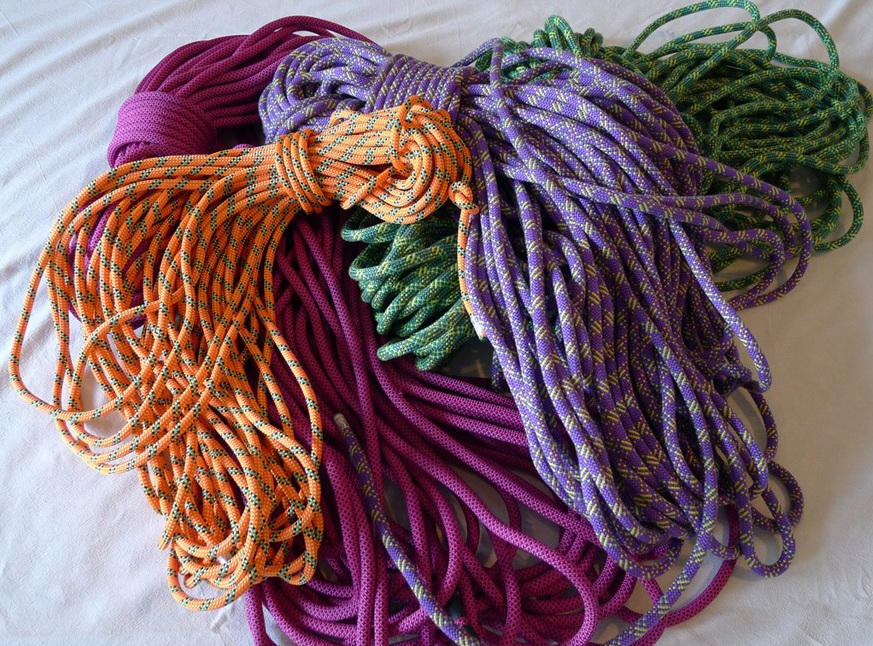
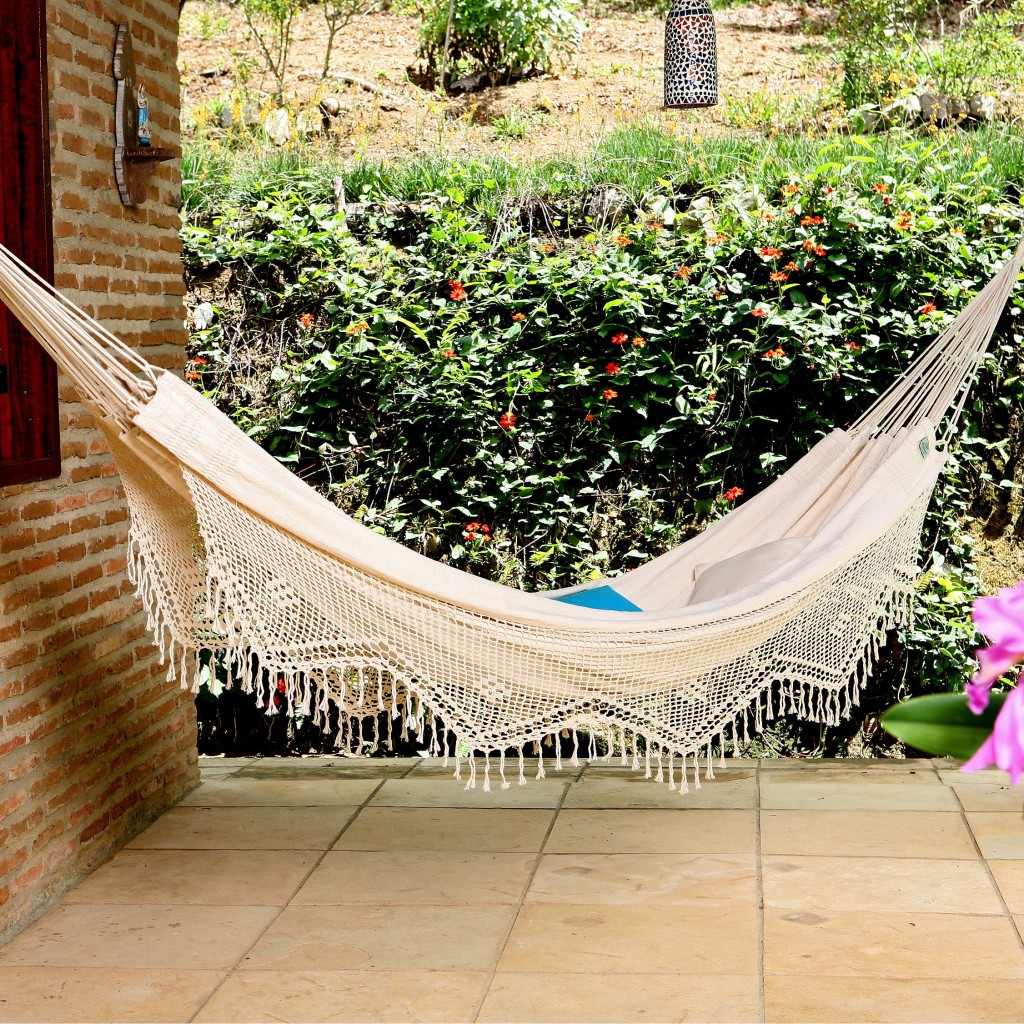
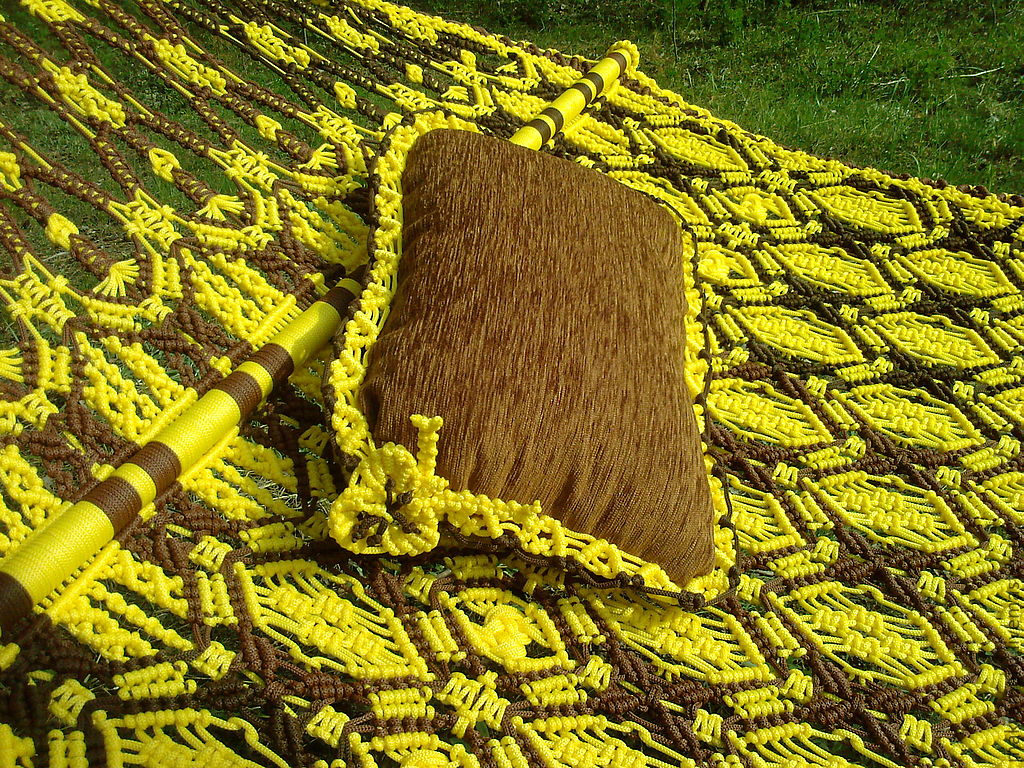
When making a hammock from cords, as in photo, choose cotton threads. In this case, you can tighten the knots more tightly, and touching them will be much more pleasant for you than slippery nylon ones. At those points where the rope can fray or where it comes into contact with the tree, you need to put on a special collar in the form of a nylon tube.
Ready-made hammock
To begin with, let's consider the process of making a single-seat fabric hammock without rails, as in the photo, since it is almost impossible to roll over and fall to the ground on which mice, rats and other unpleasant animals could run.
Materials and tools
- fabric 100 cm wide and 210 cm long;
- linen cord with a thickness of at least 7-8 mm and a length of 16.5 m;
- dense braid about 3-5 cm wide and 3.2 m long.
Getting Started
You need to make a hammock with your own hands in stages, without missing anything:
- Hemming fabric on all sides.
- Cutting the braid into 12 parts (10 cm long each). These parts will act as loops through which we will thread the linen cord.
- Each part of the braid must be folded in half and attached to the canvas. It is necessary to make sure that the ends go onto the canvas by at least 2 cm. The canvas should be located between the ends of the braid, and 20 cm should be left between the loops.
- Stitch each of the blizzards several times. Use good, strong thread. Your safety will depend on their strength. If the threads break, you may fall to the ground and injure yourself.
- Cut a couple of pieces of braid 100 cm long and sheathe with it the part of the fabric to which the hooks are sewn. In this way, you can hide the bases of the hinges, and the hammock will get a more attractive look.
- Pass the cord through all the loops, making slings. The length of each should be 70 cm. See the photo below.
- Now you need to put all the lines together and tie them at a distance of 50-60 cm from the canvas. As a result, you should have ponytails from which we make loops. With their help, we fix the hammock on the frame.

Fabric choice
You can choose a different fabric, and you can use different options for decorating it, for example, macrame. As we said above, it is better to pay attention to the following materials:
- mattress teak;
- tarpaulin;
- camouflage fabric.
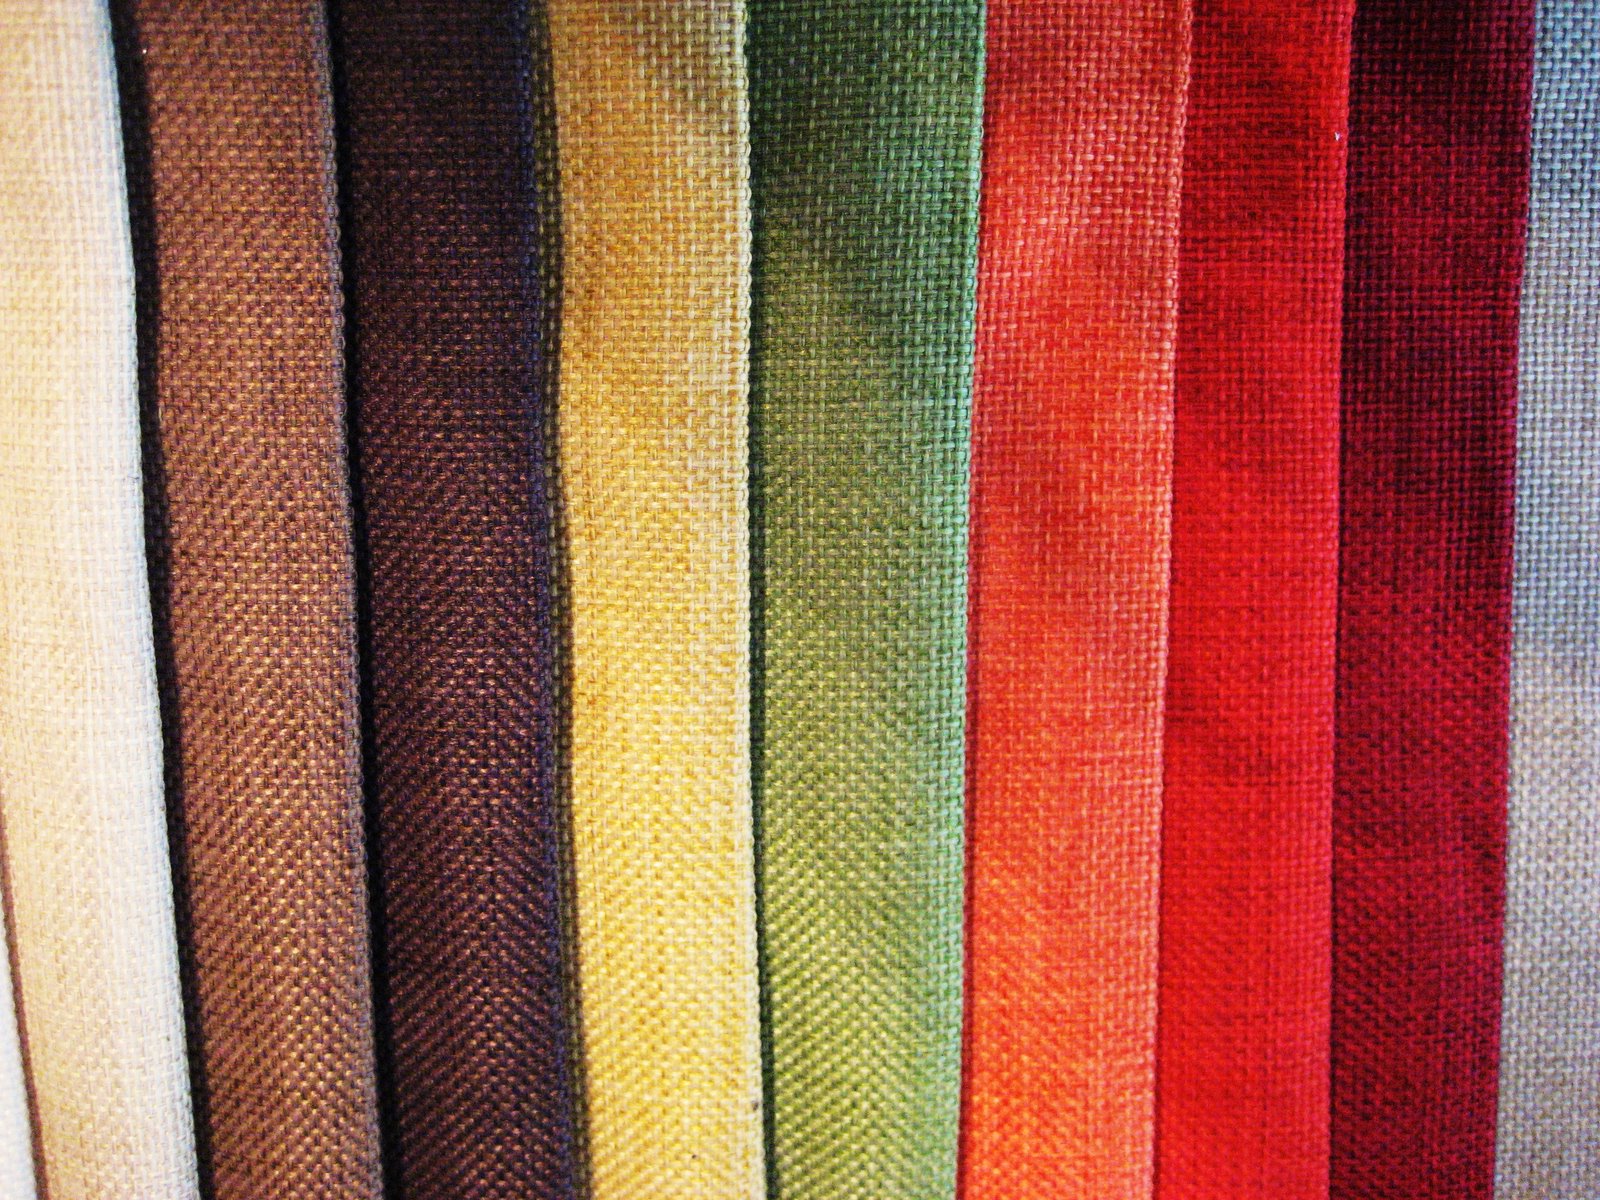
Synthetic fabrics are lighter, cheaper and more durable, but after the first night in such a hammock, you will realize that you made a mistake. It will be comfortable for you to lie down, and the rats will not get you, but the body will not breathe. It should also be noted that a hammock made of natural materials takes the shape of the body faster.
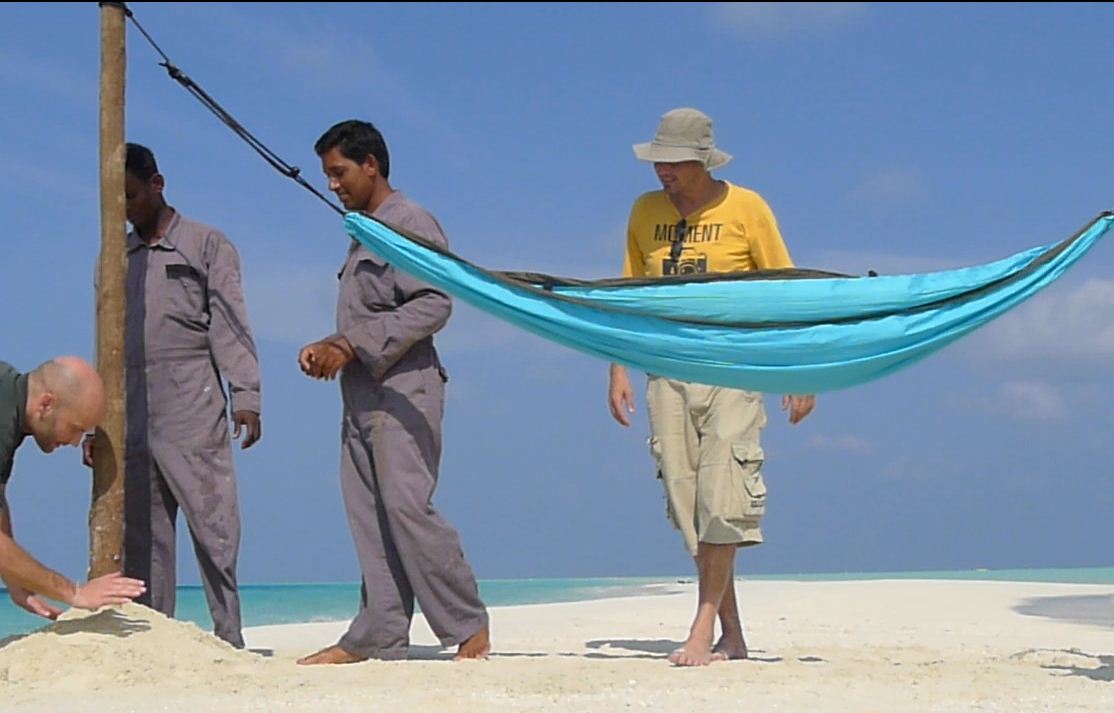
We hang a hammock
To correctly hang a hammock with your own hands, you need to know some rules. For example, it should hang at a height of 150-165 centimeters from the ground. Do-it-yourself hammock stand according to our master class must be dug to a depth of one meter, no less. The racks on which the hammock rests should be located at a distance of 275-300 cm relative to each other. If trees act as supports, their trunks must be at least 20 cm in diameter.
When installing a hammock with your own hands in an apartment, the walls will act as supports, and the screws will become fasteners.
To make it, you will need the following tools and materials:
- Stationery knife and scissors.
- Ruler or measuring tape.
- Two lances with holes every 4-5 cm in diameter four times the diameter of the cord. The edges of the holes must be smoothed so that the rope does not fray. You can use wooden or metal planks of any width and thickness. However, the length must be at least 100 cm.
- Cotton rope or clothesline with a thickness of more than 8 mm.
To calculate the length of the cord, multiply the length of the hammock by 3 and multiply by the number of holes in the bar. To this number should be added 20 m for fastenings.
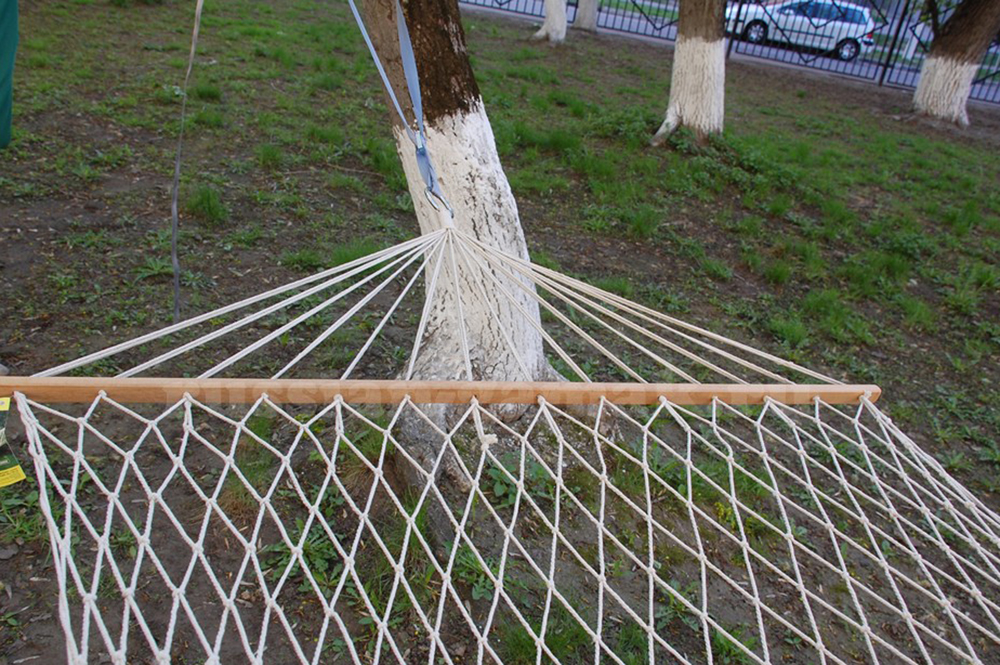
Work stages
- It is necessary to cut 20 meters for fasteners, and cut the rest of the rope into equal 6-meter pieces.
- Attach each rope with a loop and a knot on the bar.
- The optimal cell size is considered to be about 7 cm. This provides a comfortable rest and prevents falling through or tangling in a hammock made according to our master class.
- After completing the creation of the hammock, you need to attach the tails of the cords with knots to another plank, and then attach fasteners to both planks. After that, you can hang the hammock on the supports and use it. You can also try making macrame to decorate the product.
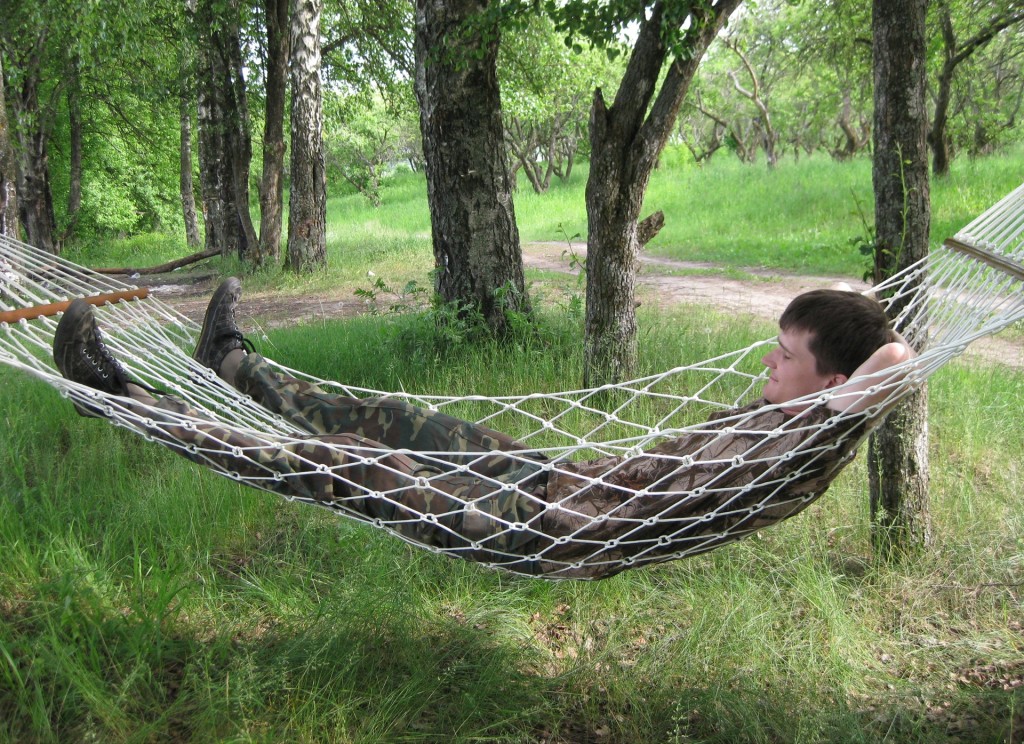
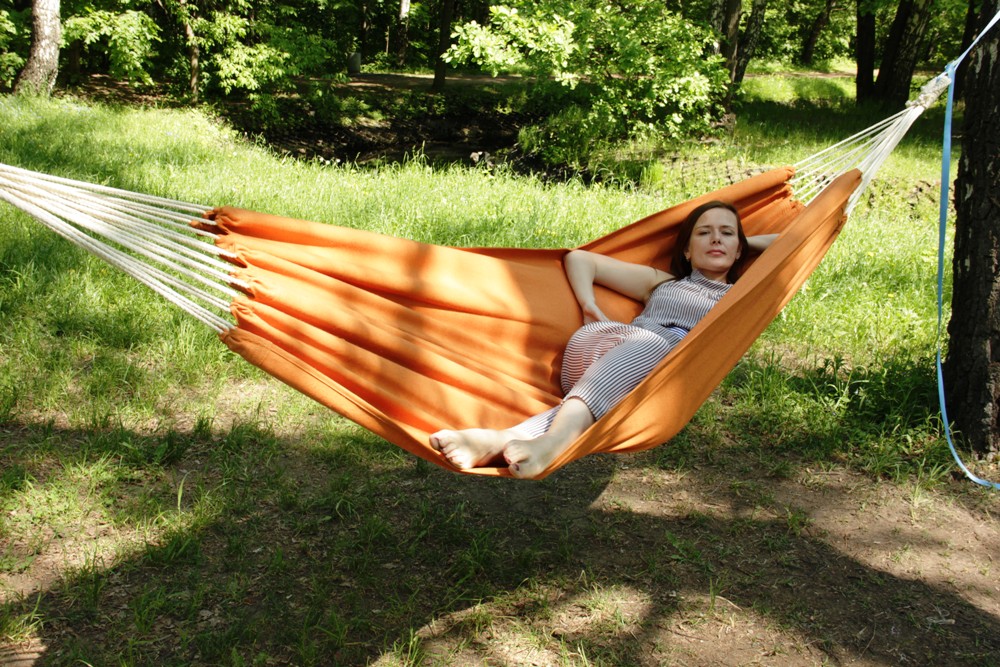
Brazilian hammock on sticks
If the hammock is hung too low, even children and the elderly can use it. Before making, think about how you will decorate the hammock. You might like the macrame option.
Work order
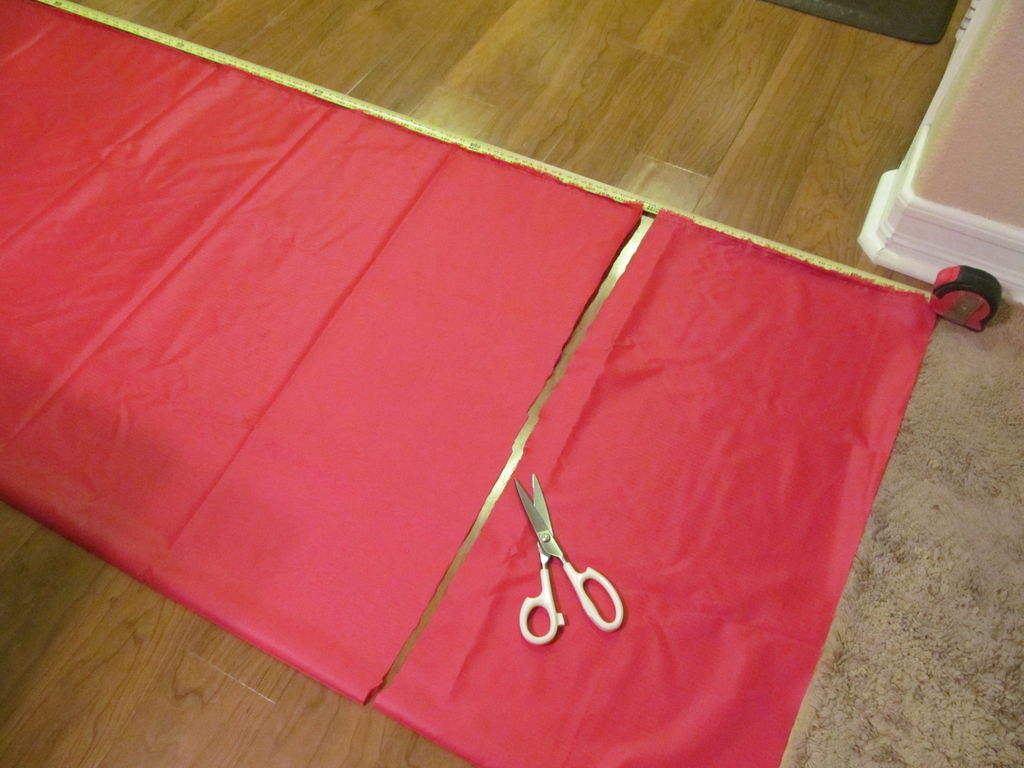
- It is necessary to take two pieces of fabric measuring 200x90 cm, a pair of wooden sticks 90 cm long, two coils of clothesline 10 each and a drill. The lace will not come into contact with the body, so you can choose a nylon.
- Two fabric sheets must be sewn together, and the short sections must be folded over two centimeters and stitched. For eyelets, we make markings every 8.5 cm. Think in advance whether you will make macrame elements.
- Install eyelets in the places provided. You can make 10 pieces on each side. If they are not available to you, you can make loops from the fabric used by cutting 20 squares measuring 20x20 cm. Fold in half and stitch, and then sew them well to the edges. A rope will pass through them, like through eyelets. Metal fasteners are more reliable, so it is better to use them.
- On sticks, it is also necessary to make markings, stepping back from the edges by 2.5 cm, and then making indents of 8.5 cm.
- We drill holes with a diameter of 2 cm so that an 8 mm cord can easily enter them in two rows.
- We cut the cord into pieces 1 m long and pass each of them through the hole made in the stick. After that, we run it through the grommet and again through the stick. We trim the ends.
- Half a meter from the stick, we collect all the cords in a bundle and tie it into a knot, and then tighten it tightly.
- We braid the knot and our hammock is ready.
As we said, you can use macrame elements to decorate a hammock, and a master class on how to create them will definitely appear on our website.