Sheathing the walls of the barn with a board. Part 6
Having finished the preparatory work with the roof, we proceed to stuffing the walls of the boards onto the frame of the country shed from a bar. For mounting walls, lining, siding or profiled boards are usually used.
In my case, the lining will not work, as it is too thin and is only suitable as an additional decorative component. The “toad” did not give money for the profiled board :)), siding is generally from a different song, so I decided to upholster the walls of the barn with an ordinary inch board (25x150 mm) in the “American” style. This name came from the fact that, before the invention of siding, the first settlers in America upholstered their houses.
The essence of this method is that the boards are stuffed from the bottom up with a slight overlap (2-3 cm), like a Christmas tree. Therefore, in the process of drying wood in such a wall, no gaps are formed between the boards. Which, no doubt, happened if I filled the boards just end-to-end, even having processed the butt places with a planer.
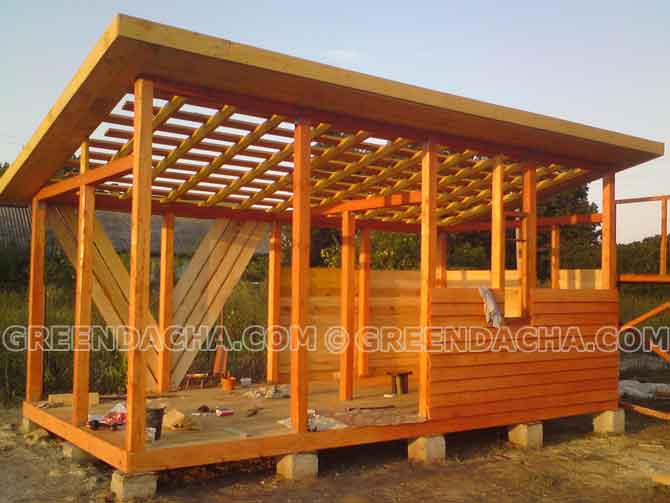
Since my shed at the dacha was conceived as two in one - a woodcutter and a small workshop, only the walls of the workshop and the entire frontal part of the shed were upholstered with "American". Where the woodcutter is located, I filled the boards in a V - figuratively, with a gap of 1-1.5 cm between the boards so that the firewood could be ventilated and dried, and for beauty, of course.
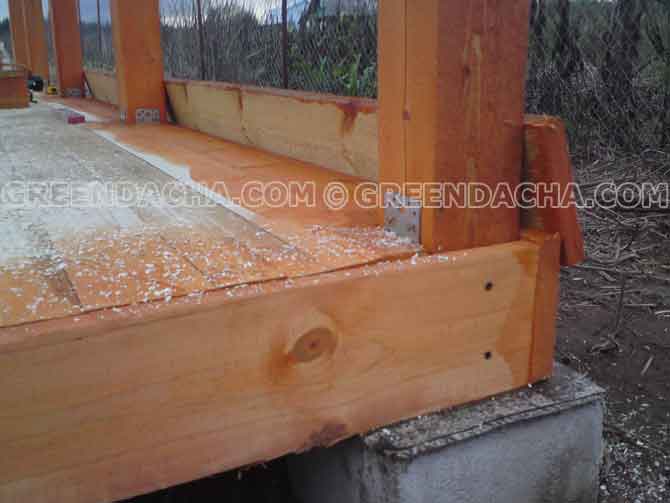
I cut off the outer side of the boards with an electric planer. Firstly, to save expensive fire and bioprotection, and secondly, so that rainwater does not linger and easily rolls off the surface of the boards.
There is nothing complicated in installation, as they say - pour yes ... in the sense: saw off and hit! :))
To begin with, of course, you should decide where the entrance to the barn will be, the entrance to the workshop inside the barn, and also prepare the windows.
You should start by stuffing the first, lowest board around the entire perimeter of the barn. And then, we nail each subsequent board with an overlap on the bottom one of 2-3 cm.
We fill the boards on the frame of the barn in a circle - first on the front, then on the side and behind. So it will turn out more evenly and accordingly more beautiful. I do not recommend nailing boards first to one wall, then to another, it will definitely turn out higher or lower on one wall than on the other. Use a tape measure and a level to keep the boards level.
Before starting the installation of the walls, it would be nice to determine where the windows will be in the workshop, it is desirable that they face the south. east or west sides, then it will always be light in the barn. In my case, it turned out the east and south sides.
There was no experience in making window frames with my own hands, and I was just too lazy to cut it all out.
In my attic, I found two unused sashes from the window frame and decided that this was just what I needed for the windows in the barn. Of course, they are a bit narrow, but for such a small barn, in my opinion, just right.
Having decided on the location of the windows, from a floorboard (40x100 mm), I built two frames for inserting window frames on the east and south sides. The photo below shows the design.